Heating Installation in Indian Wells, CA
Heating Installation in Indian Wells, CA
Proper heating installation in Indian Wells, CA matters even though the desert climate is known for hot days. Nights cool quickly, winter mornings can dip into the 30s and low 40s, and many homes need dependable, efficient heat for comfort and health. A professional heating installation tailored to local conditions — dust, large diurnal swings, high solar loads, and the common packaged or split HVAC systems found here — ensures consistent warmth, lower operating costs, and fewer repair calls through the season.
-min.webp)
Why a tailored heating installation matters in Indian Wells
- Desert dust and sand accelerate coil and filter fouling; installations must allow easy access for cleaning and use properly sized filters.
- Large daytime-to-nighttime temperature swings mean systems should be right‑sized for steady, efficient night heating without short cycling.
- Many local homes use heat pumps, packaged units, or ducted systems tied to air conditioning; correct integration preserves AC performance and seasonal efficiency.
- Proper ductwork and thermostat placement optimize comfort in high-ceiling rooms and sun‑exposed living areas common in desert homes.
Common heating system types for homes in Indian Wells
- Air-source heat pumps (including variable-speed and high-efficiency models): Good year‑round performance in mild winters, efficient when sized and installed correctly.
- Gas furnaces: Useful where gas lines are present and for rapid heat on cold mornings; must be vented and code-compliant.
- Packaged rooftop units (electric or gas): Common for some single‑story or multi-zone homes and light commercial properties in the Coachella Valley.
- Ductless mini‑split systems: Ideal for room additions, sunrooms, or homes without ductwork; offer zone control and high efficiency.
- Dual‑fuel systems: Combine a heat pump with a furnace to maximize efficiency across temperature ranges.
Common heating installation issues in Indian Wells homes
- Oversized equipment causing short cycling and reduced comfort
- Undersized systems failing to maintain nighttime temperatures
- Leaky or poorly insulated ductwork producing uneven rooms and wasted energy
- Inadequate thermostat placement or old thermostats incompatible with new systems
- Poor coil and filter access leading to accelerated performance loss from dust
Our heating installation process explained
Below is the step-by-step process a professional installer follows to ensure reliable heating installation in Indian Wells, CA. Each step is designed to address local climate factors and code requirements.
- Initial consultation and site assessment
- Walkthrough of the home to review layout, insulation, window exposure, attic ventilation, and existing equipment.
- Perform a Manual J load calculation to determine heating needs based on square footage, orientation, occupancy, and insulation.
- Inspect existing ductwork (if present) for leaks, insulation gaps, and routing that can cause uneven heating.
- Equipment selection and right‑sizing
- Recommend systems based on calculated load: heat pump, furnace, packaged unit, or ductless options.
- Discuss efficiency metrics (HSPF, AFUE, SEER where relevant) and how they affect operating costs in the desert climate.
- Consider variable-speed compressors and zoning when night cooling loads and large rooms are factors.
- Permit coordination and code compliance
- Prepare permit paperwork per Riverside County and City of Indian Wells building codes when required.
- Ensure installations meet local mechanical, electrical, and refrigerant handling regulations.
- Schedule inspections with the authority having jurisdiction to confirm compliance before final sign-off.
- Professional installation procedures
- Remove old equipment safely and prepare mounting pads, curbs, or indoor plenum connections as needed.
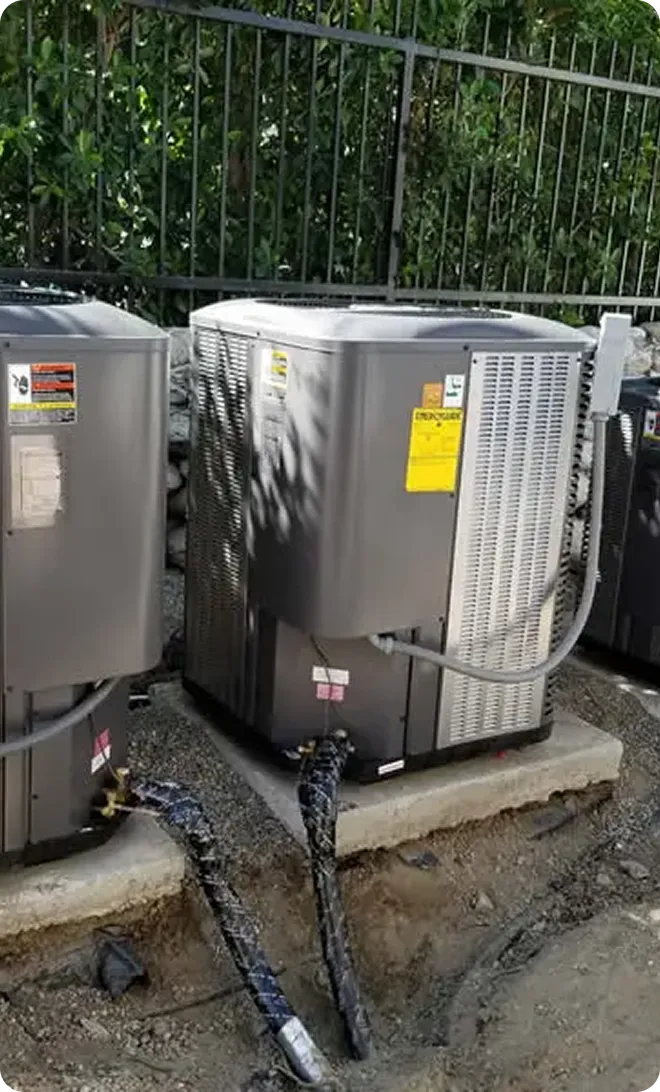
- Install new equipment, paying careful attention to refrigerant line lengths, condensate drainage, and combustion venting for furnaces.
- Upgrade or properly size ductwork, seal joints, and add insulation to reduce heat loss and prevent pressure imbalances.
- Integrate thermostats and controls, including multi‑stage or smart thermostats and zone dampers if used.
- Start‑up testing and performance verification
- Evacuate and charge refrigerant systems to manufacturer specifications; check for leaks.
- Measure airflow, static pressure, supply and return temperatures, and verify proper combustion/venting where applicable.
- Calibrate thermostats and verify drift, staging, and smart‑control schedules.
- Run the system through heating cycles and confirm even temperature distribution throughout the home.
- Post‑installation support and homeowner guidance
- Walk through operational basics: thermostat programming, filter access, and routine checks.
- Provide recommendations for filter types, maintenance intervals, and seasonal prep to prevent desert dust buildup.
- Explain warranty registration and what to expect during the first heating season, including minor settling adjustments.
Troubleshooting common post‑installation scenarios
- Uneven heating between rooms: Often caused by duct leaks, poor balancing, or inadequate zoning. Solution: measure and seal ducts, adjust dampers, or add zoning.
- High energy use after install: Check for oversized equipment, incorrect thermostat settings, or poor insulation. Solution: verify proper system charge and correct thermostat programming; improve insulation where feasible.
- System short cycles: Typically due to oversizing or faulty controls. Solution: confirm correct sizing and thermostat call behavior; install variable‑speed equipment if appropriate.
Maintenance tips to extend life and preserve efficiency
- Replace or clean filters every 1–3 months depending on dust levels and filter MERV rating.
- Keep outdoor units free of sand buildup and vegetation; clear a 2–3 foot radius for airflow.
- Schedule annual tuneups before the heating season to check refrigerant charge, electrical connections, and burner/venting safety where applicable.
- Consider a programmable or smart thermostat to reduce runtime during unoccupied hours while maintaining comfort at night.
- Seal and insulate ducts, especially in attics or crawlspaces, to prevent daytime heat gain or nighttime heat loss.
Benefits of a proper heating installation in Indian Wells, CA
A correctly executed heating installation delivers consistent comfort on cold desert nights, lowers energy costs by matching equipment to real needs, improves indoor air quality by reducing dust infiltration, and minimizes future repair expenses. Tailoring the design and installation to Indian Wells’ unique climate and home types ensures reliable performance and peace of mind through the cooler months.
A full-service installation that includes load calculations, right‑sized equipment, ductwork optimization, permit coordination, start‑up testing, and clear homeowner support is the best way to protect your investment and keep your home comfortable year after year.

hear what our satisfied
clients have to say


.webp)